Tuesday, January 28, 2014

9 Surprise Ducks

Nine surprise ducks showed up on my porch last night.  A neighbor went hunting and dropped them off unexpectedly. Wow was my wife surprised when she got home! 

Well, when 9 ducks generously appear on your doorstep, there is nothing you can do but be thankful and get to pluckin.  In case you find yourself in this situation, here is how I processed them.

One thing to note. I'd been told by a friend that it is best to let any game birds sit overnight in a cool/cold place. This allows the feathers to loosen up and makes the plucking easier. So, I left the ducks in the unheated garage overnight. Then I got up at the crack of dawn to get these guys done before work.  

Supplies Needed:
  • A table outside
  • A sharp, thin knife
  • A brown paper bag for feathers
  • A bucket or something for waste parts
  • A bowl or something for keeping parts
  • A hand towel

Boneless Duck Breasts
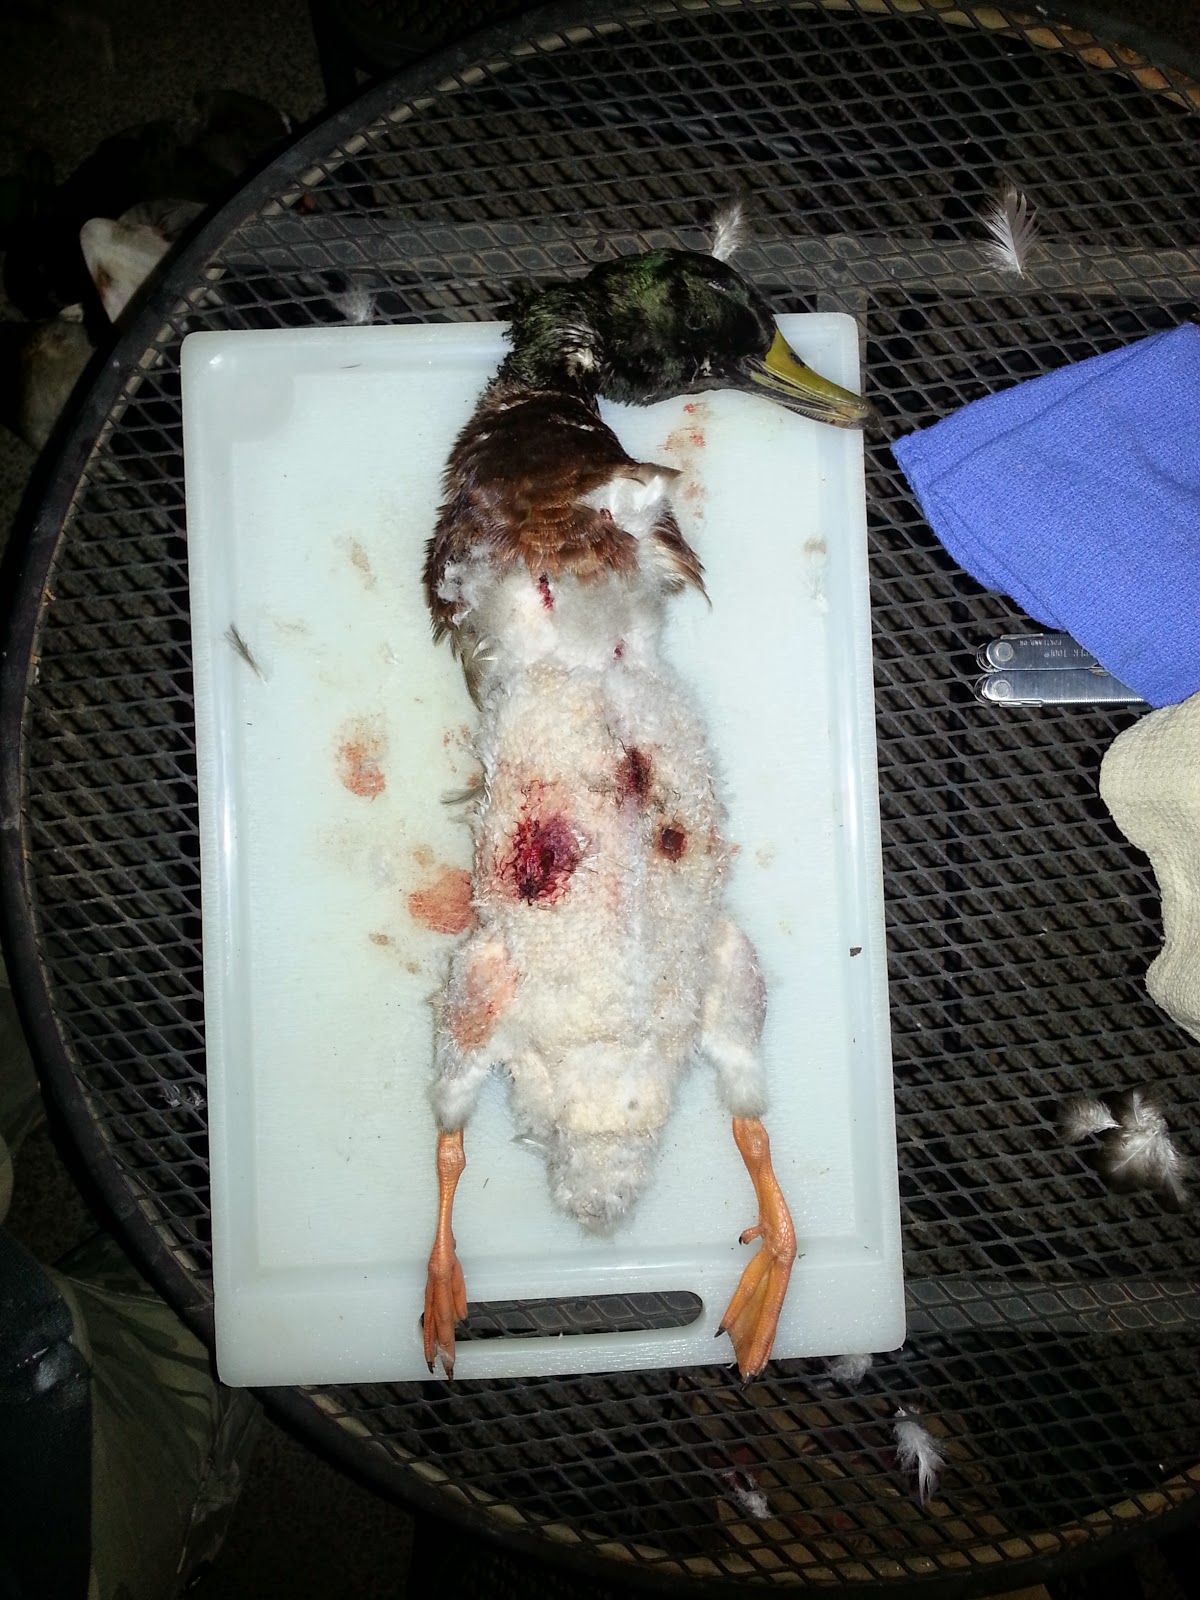
Step 1: Get your bird on a table outside because it gets a little messy.  


Step 2: The easiest way to process them is to do boneless breasts.  There is not much other meat on a duck, besides the legs, but you can take those off afterward.  To do breasts, just pull out all the feathers on the chest area. Grip it with your hand and pull.  There's not much else to it.  Try to get as much as you can. Be careful where the shot holes are. If you pull to hard you'll tear the skin in ways that make your job more difficult.


Step 3: Use very sharp knife to make a gentle incision in the skin along the breast bone. The weight of the blade should be enough. The skin is very thin and you don't want to cut into the meat by accident.  Then, using two hands, wiggle your fingers under the skin and pull it apart to reveal the breast meat.  Pull the skin apart until you can see the outside edge of the meat along the side of the rib cage.


Step 4: Using a very sharp and thin knife (I use a boning knife but a fillet knife will work well too), cut straight down along the breast bone. Then carefully trim the meat away from the rib cage. Trim the connective membrane at the edges to release the meat. If you've ever done boneless chicken breasts, then you'll see it's exactly the same process.


Optional Step 5: If you want the legs too, just pluck further down the body to expose the legs. After you remove the breast meat, then cut through the skin to the hip. Turn the carcass over and pull the leg gently back to dislocate the hip joint. Use your thin sharp knife to cut between the hip and thigh bone to separate the leg from the body.

That's how you get breasts and legs from a whole duck. It's pretty easy. The plucking takes the longest time. It's true that you don't get the two duck delicacies--the liver and the fatty skin. But it is quick and it gets 90% of the edible parts of the duck.


A Whole Duck
When you do boneless breasts it seems like there is a lot of the bird that goes to waste. So, if you want to a whole bird carcass, here is how I did it.

Step 1: Setup your bird. You're going to have a lot of feathers, so make sure you have your feather bag ready.

Step 2: Pluck the entire body of the bird. Do a better job than I did. Don't worry about the neck and head unless you really want to keep them for some reason.


Step 3: Remove the neck and head with a strong knife, kitchen scissors, or a cleaver.  Then using your sharp, thin knife, gently cut open the abdominal cavity just below the rib cage. You DO NOT want to puncture the intestines, so don't go deep. When the cavity is open, slide one hand in along the inside of the rib cage. Gently loosen the guts with your fingers, then scoop everything out. If you want the liver, watch out for it. The heart will probably need to be pulled out separately. It is normally pretty high up in the body cavity and firmly attached.  


When everything is done, just wash the parts you want to keep under cold water and vacuum seal them up. Make sure to wash away and very dark blood clots that might be left over. Your vacuum sealed duck can keep in the freezer for a long time.  

That is how you process 9 ducks before work on a Tuesday!

Bucket 'o Ducks!

Monday, January 6, 2014

Wood-Fired Ham Stuffed with Apples and Herbs

One of the wonderful things about pigs is their legs.  The back legs are especially wonderful.  When you get a whole pig you get two wonderful hind legs that will be divided into either one or two wonderful hams each.  The pig we got from A Little Hope Farm had two of these wonder hams for each leg.  Contrary to what you may think, these hams are not all the same size.  For whatever reason, the butcher decided to cut one side a bit shorter than the other, which is fine with me because sometimes it's wonderful to have a bigger ham and sometimes a smaller ham.


There are two basic kinds of ham. Cured ham is what you normally find at the store in the deli. It looks pink and slices very nicely for sandwiches and omelets.  Curing hams is not hard to do, it just takes time, but it is not what I want to talk about today.

Fresh ham is exactly the same as a cured ham, but not cured. Like a beef roast you can do almost anything you want with a fresh ham.  For my purposes, I needed a big chunk of meat that could feed up to ten adults for a dinner party. The largest ham I had in the freezer was an 8.5 lbs. with the bone in.  After thinking about it for a while, I turned to Jane Gigson's classic, Charcuterie and French Pork Cookery.  She has a whole chapter on fresh ham recipes.  Actually, in true French style, there are very few recipes but a lot of variations.  Page 221 has a fresh ham variation for pork Normandy that involves apple cider glaze.  This was inspirational.

To begin, bone the leg and butterfly the ham.  Because hams taper from the hip to the knee you have to butterfly the leg in such a way that the leg opens up and becomes a more rectangular shape. This will make it easier to roll the roast back together.

Fresh ham, butterflied with apples and herbs.
Butterfly the leg and fill it with diced granny smith apples, fresh sage, salt, pepper, thyme, and some bay leaves.
Rolling a ham

Tying a ham
Roll the whole thing and tied it. This makes for a very nice pork roast.

However, I wasn't done.

I knew that I'd be roasting this thing over a wood fire in the smoker.  My intention was not to do a smoked ham, but smoke would be involved and I didn't what the whole thing to turn black.  So I took some of the skin that the butcher had packaged and wrapped the ham in its own skin.


The skin is irregularly shaped and very thick with fat. If you try this technique, you may need to square the piece then shave down the fat until you have about a quarter inch remaining on the skin.  If you do this, try to keep the extra fat in nice thin sheets that you can freeze and reuse for other things (like draping it over lean beef roasts to keep them moist while they cook).


Having the ham wrapped in a layer of fatty skin did two things.  First it protected the outside of the ham from becoming black with smoke. The skin did shrink a little bit, but I had it tied on pretty good so it stayed almost completely in place throughout the whole cooking.  I was surprised to see that the skin also became a kind of hard shell around the roast. This was good as it protected the meat from flare-ups and over smoking.  The second big benefit was that the fat basted the meat the entire time it was cooking.  This prevented the meat from drying out while it was cooking and it also reinforced the nice porky flavor of the meat.

My original plan was to remove the skin for the last 30 minutes of cooking to allow the meat to brown a bit, but that was not possible because the skin had hardened around the roast like a protective case.  Unfortunately, I didn't take any pictures when it was done.


To go alongside the roast, I wanted something other than a sauce.  In keeping with my island flavors theme for the dinner, I made an apple-pomegranate chutney.  Together this made for a delicious, local and seasonal main course.

So if you find yourself with a whole pig and are wondering what to do, try doing a fresh ham roast with apples and herbs.  If you wrap it in the skin and cook it over a wood fire, even better.